Nail Stamping Plates 101: How to Get Started with Stamping

Image courtesy of @lackshoen, featuring our Myriad of Mandalas stamping plate
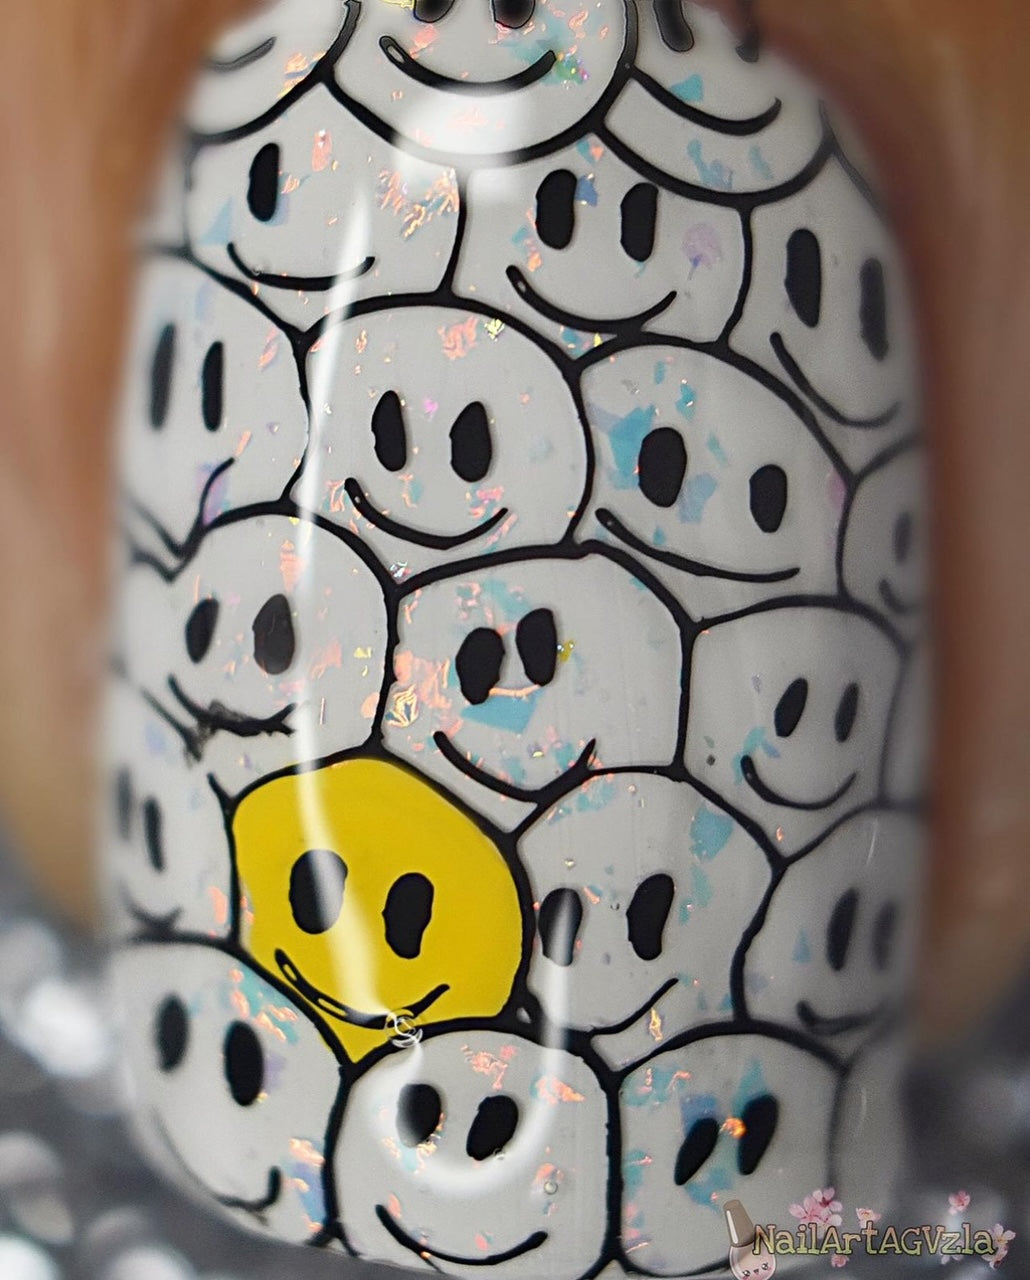
Those sweet little picturesque scenes painted across fingernails and posted all over Instagram are super easy to recreate with the right tools. All you really need are nail stamping plates, nail stamping polish, and a clear nail stamper. Of course, there are different accessories available that can make the job a lot easier, but these three items are really the most essential. If you’ve always stared at those flawless nail art designs with an envious eye wondering how it’s done, we can help you get started.
Step 1: Gather up the nail stamping plates and other supplies
This step is easily the most important. Once you get started, it’s important that all the required tools are at your fingertips. Once you start stamping, you’ll be having so much fun that you won’t want to interrupt the stamping flow for any reason. The items you’ll need (and probably want as well) include:
- Nail stamping plates (one will do, but why stop there?)
- At least one stamping polish
- A Clear Jelly Stamper
- A scraper
- A bottle of PROtect (for maximum cuticle protection)
- A top coat or top gel
- A lint roller or tape (to clean the stamper head)
- Nail polish remover (to clean to stamping plate)
Step 2: Prep the stamping supplies
To get yourself primed and ready for stamping, a little pre-stamping prep will go a long way. Here are a few things you can do before you get started:
- Be sure to remove the blue film from any brand new plates
- Make sure your nails are prepped and ready for some nail art
- Make sure your supplies are clean and in good working condition
- Ensure your nail polish remover is within arm’s reach, just in case
Step 3: Load up the stamper
Once the prep work is out of the way, it’s time to load an image onto the stamper. Apply a thin layer of stamping polish to the image of your choice on your stamping plate. Scrape off any excess nail polish while holding the scraper at a 45-degree angle.
Now for the tricky part – roll your stamper over the image lightly. Sometimes flicking the wrist slightly will help the transfer go smoother. It’s all right to practice a few times. You’ll want to make sure the image is crisp before applying it to your nail anyway. If any extra polish is lifted with the image, clear it away gently using the scraper, the lint roller, or a piece of tape.
Step 4: Now it’s time to stamp!
If the image sitting on top of your stamper looks good, go ahead and apply it to the nail of your choice, but be quick about it! It’s important to apply the image to your nail before the polish dries to the stamper.
And there you have it – a beautiful, stamped image worthy of an Instagram post.
Step 5: Become a stamping master
Now that you’ve got the hang of stamping, it’s time to master it. For a few more tips of the trade, check out our previous post: 9 Tips to Help You Master Stamping with Clear Stampers.
Build up your nail art design kit with super trendy stamping plates and polish from Clear Jelly Stamper. Besides the stamping basics, we have everything you need to create stunning nail art designs from the comfort of your living room.


