Mastering Clear Jelly Stamping: Troubleshooting Tips for Perfect Nail Art

Nail art enthusiasts, rejoice! The clear jelly stamper is a game-changer in the nail art world, allowing you to place your designs more accurately and easily on your nail. However, like any new skill it can take practise and can be frustrating when your stamper isn’t lifting the nail art properly. Don't worry! Here are some troubleshooting tips to ensure your clear jelly stamper works perfectly every time.

1. Clean Your Stamper Head
The stamper head needs to be clean to pick up designs effectively. Over time, dust, oils, and residue from previous stamping polishes can accumulate, preventing the stamper from working properly.
- How to Clean: Use a CjS sticky pad or lint roller to remove any debris. Avoid using acetone or nail polish remover as it can damage or cloud the jelly head. For a more thorough clean, wash the stamper head with mild soap and water, then let it air dry. (you shouldn't need to do this often)
2. Use the Correct Polish
Not all nail polishes are suitable for stamping. Gel nail polish will not work as it is usually not pigmented enough and won't deliver a sharp image. Regular nail polish is usually not pigmented enough either so success with it can be hit and miss. Our stamping polishes are highly pigmented and were designed specifically for use with the Clear Jelly Stampers. They have 4 times the amount of pigment than regular polishes to allow for the transfer of your design to your stamper & nail.
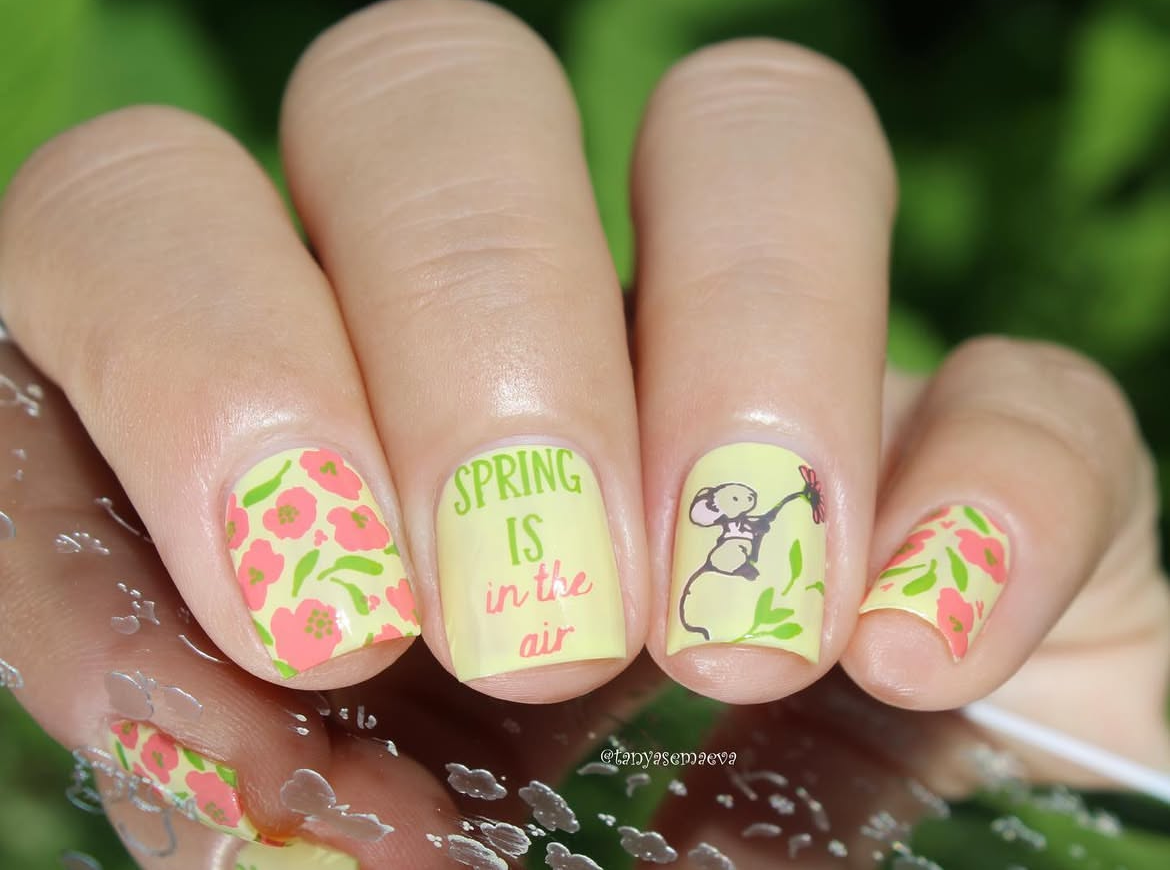
 CJS-349 by @polished_jess using our beautfiul Spring Bloom stamping polish kit
3. Prepare your Stamping Plate
Just like your stamper your stamping plate will need cleaning before you start to ensure it is free from any dust, dirt or old polish.
- How to Clean: We recommend using our CjS plate cleaner to clean your plates however, if you don't have access to our plate cleaner then a mix of 50% high quality nail polish remover (without added oils) and 50% acetone will work. Make sure your plate is completely dry before adding polish.
4. Scraper Technique
Using the scraper correctly is crucial for picking up the design.

- Technique: Hold the scraper at a 45-degree angle and scrape off the excess polish. One firm scrape is best. A hard scrape can remove too much polish, while a light scrape might leave too much behind.
- If the image isn't scraping evenly, try scraping in different directions. If you don't have any luck scraping right to left try vice versa or top to bottom.
- If your image plate doen't feel perfectly flat to your work surface, press down on the stamping plate when scraping and lifting to ensure it is flush.

5. Stamping Technique
Lifting the image from the plate can take time and practice.
- Technique: immediatly after scraping excess polish, gently roll your stamper over the image with almost no pressure.
- Tips: A gentle rolling of the stamper across the plate with lightest possible pressure, to pick up the design is best. When applying the design to your nail, use a press it straight down and hold. A little wiggle can also help if image is not staying in place.
- Try what we call "two handed stamping" by scraping with one hand and immediately folloing with your other hand rolling your stamper.
6. Timing
Timing is everything in stamping.
- Advice: Work quickly! After applying the polish to the plate, scrape and stamp immediately before the polish dries. Picture how thin that polish becomes after scraping it! It is going to dry to the plate quickly.
7. Environment
Is your environment affecting your stamping?!
UV light, a heater or a fan can cause your polish to dry out very quick so will affect you ability to pick up your image.
8. Patience
Don’t be discouraged by a few failed attempts. Mastery comes with practice. Experiment with different techniques and products to find what works best for you and don't forget the team at CJS is always here to help!!


Comments